Before starting your project, make sure that you are working in a well-ventilated area.
Step 2
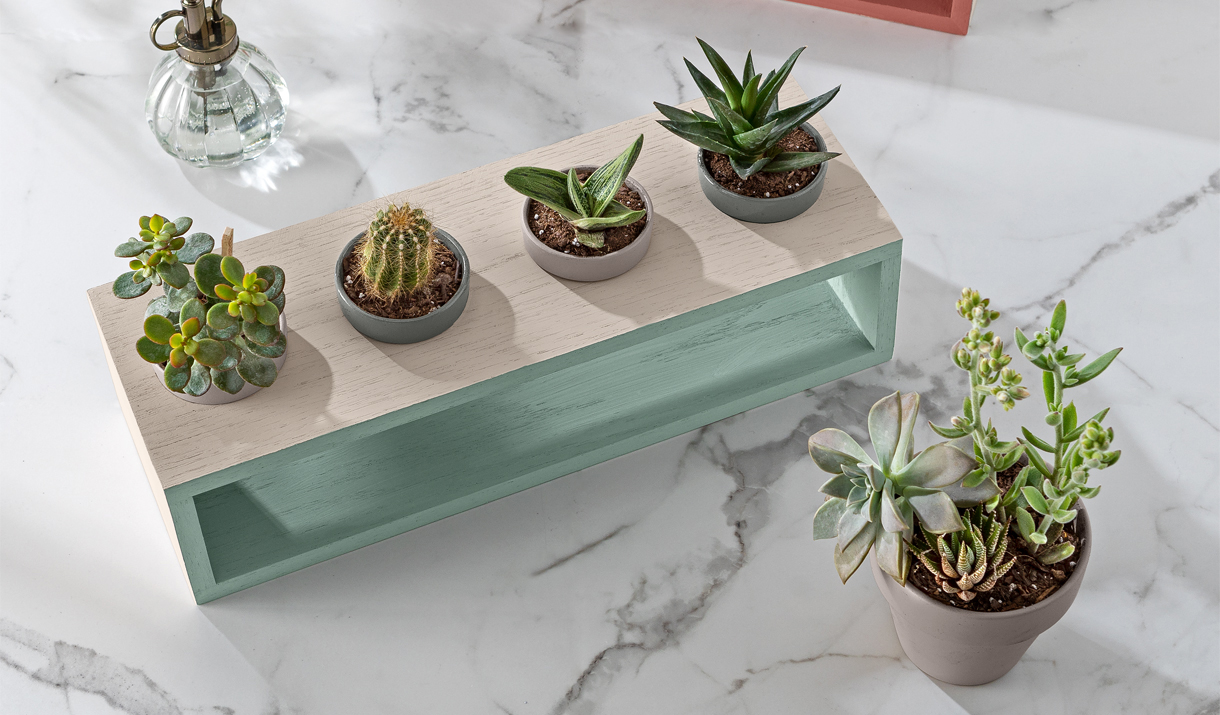
Start with the 5.5” W × 42” L × .5” D wood board. Using the tape measure and pencil, measure two 16” pieces of wood to use as the top and bottom of the planter, and two 3” pieces of wood to create the sides of the planter.
Step 3
Use the saw to carefully cut out your four pieces of wood. Discard any leftover wood scraps.
Step 4
Use the tape measure and pencil to draw a line bisecting the length of one of the 16” pieces of wood. Make marks along this line at 2 inches, 6 inches, 10 inches, and 14 inches to indicate where the flowerpots will be placed.
Step 5
Secure the marked piece of wood to the edge of your workspace to ensure it does not move while drilling.
Step 6
Drill four holes into the secured wood using the power drill and 2.5” hole drill bit, using the marks as guides for where to place each hole.
Step 7
Once the holes are drilled, discard any wood scraps.
Step 8
Apply wood glue to the short ends of the 16” base and place the 3” pieces at either end standing up. Apply wood glue to the tops of the 3” pieces and place the top 16” board on top.
Painting Instructions
Step 1
Before starting, place a drop cloth or tarp in a well-ventilated area. Read all the Krylon labels for safety, application, and dry time instructions before painting.
Step 2
Wipe down the planter and flowerpots, removing any dirt or saw dust to ensure the surface is smooth, dull, and dry before painting.
Step 3
Place the four flowerpots on the drop cloth, making sure to leave enough space between each one to avoid overspray.
Step 4
Spray paint two of the flowerpots with COLORmaxx Gloss Classic Gray, and two of the pots with COLORmaxx Matte Sand Dollar or COLORmaxx Satin Pebble. Wait until the pots are dry to the touch before handling and remove from the drop cloth.
Step 5
Place the wooden planter on the drop cloth and tape off the inside and outside edges using painter's tape.
Step 6
Using a clean Purdy® Nylon/Polyester brush and the Tintable Chalky Finish in Sand Storm, paint the top, sides, and bottom of the planter making sure to paint in the direction of the wood grain.
Step 7
When the Tintable Chalky Finish in Sand Storm is dry to the touch, remove the painter's tape to avoid any peeling.
Step 8
Use painter's tape to tape off the now painted top, sides, and bottom of the planter.
Step 9
Paint the inside and all edges of the planter using your paint brush and Krylon Tintable Chalky Finish in a contrasting color such as Savannah Red or Green Water. For a more natural finish, paint in thin layers allowing the wood grain texture to show through the paint.
Step 10
When the paint is dry to the touch, remove the remaining painter's tape and allow the planter and pots to fully dry before regular use.
WOOD INSPIRATION
Get Inspired To Spray
Wood and spray paint are a great combo. Go big and revive a piece of furniture. Go small and revamp a decorative box.