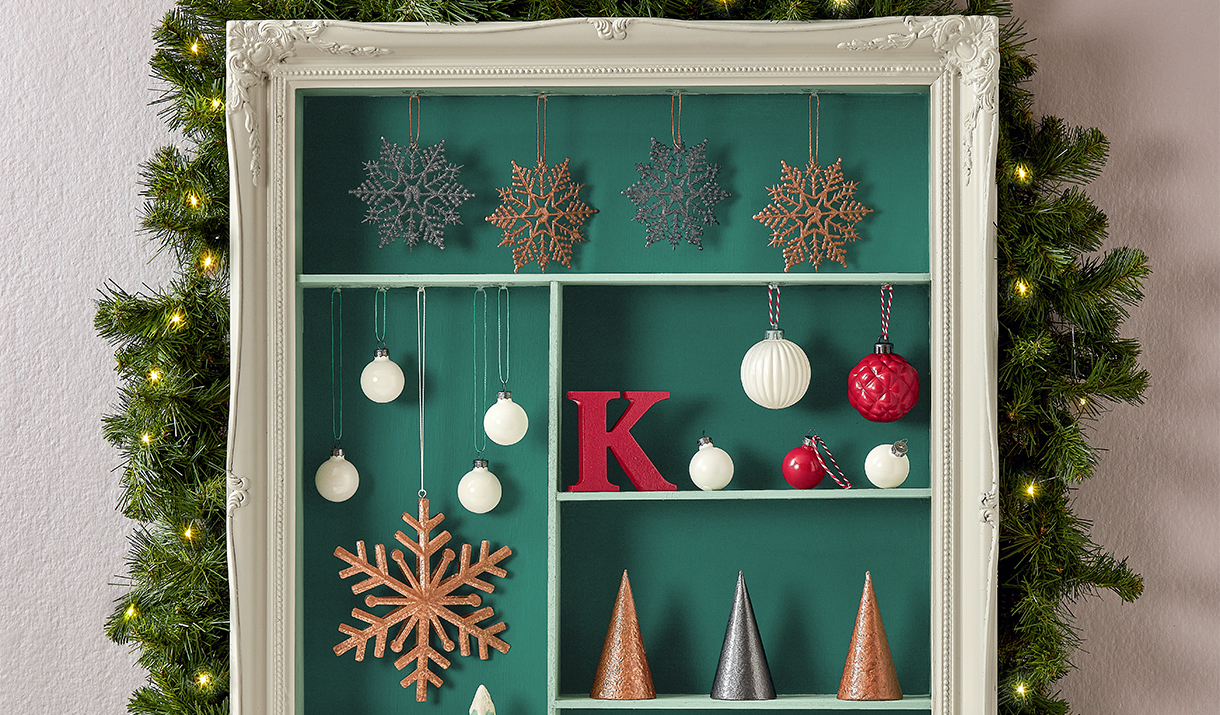
Locate an old frame or find one at a local thrift store – the more intricate the better! Remove the backing and clean the frame of dust and debris. Measure the frame opening dimensions and cut wood.
*Success Tip - It helps to seal everything with water based polyurethane beforehand to get less visible wood grain when you paint it.
Step 2
Using wood glue and clamps, attach the outer edges of the box to the back of the frame. Let glue set and attach backing panel to the frame with wood glue. You can weigh this down with sand bags to help let the glue set evenly.
*Success Tip - You can reinforce this box by attaching a thicker wooden border on the outside of the box to secure the box to the frame
Step 3
Measure and cut your dividers and glue in place. You could clamp them with wooden blocks to make sure they are perpendicular to the backing panel. Also it helps to use a triangle to create proper right angles. Once they are all set you can fill any gaps with Minwax wood filler and sand until smooth.
Step 4
Time to paint! Tape all around the inside of the frame and cut craft paper to seal the inside and seal with tape. Spray the frame with COLORmaxx Satin Ivory.
Step 5
Remove the tape and craft paper once the frame is dry to begin painting the backing board in Chalky Mosaic Green and dividers with Chalky Spearmint Haze, both with a brush.
*Success Tip - You can use you a thinner watercolor brush for the corners and edges
Step 6
While all of that dries begin painting the ornaments and other holiday décor.
Step 7
When all of the painting is completed and dry you can attach your stick back hooks to the “ceilings” of the box sections and use colorful string to hang your ornaments in style! Continue to decorate the outside and the rest however you like!
WOOD INSPIRATION
Get Inspired To Spray
Wood and spray paint are a great combo. Go big and revive a piece of furniture. Go small and revamp a decorative box.