A perfect project starts with great prep.
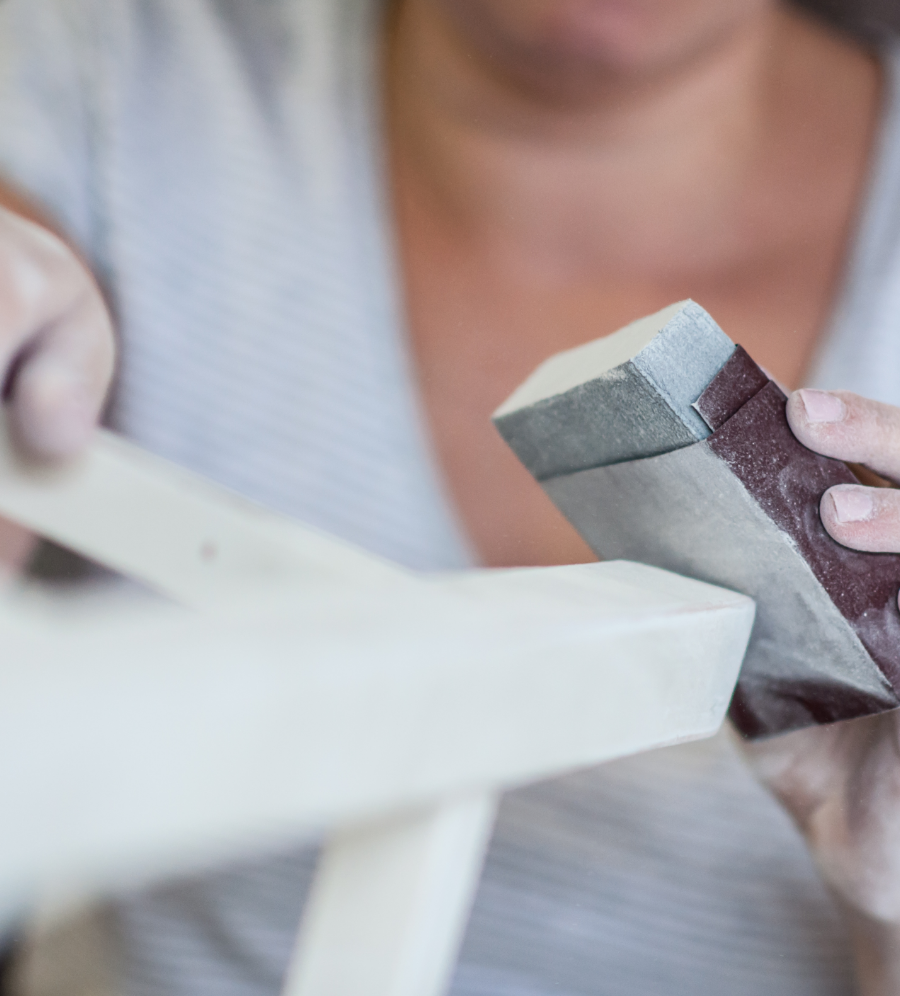
A perfect project starts with great prep.
Project Preparation
Proper surface preparation is the key to a smooth, professional-looking finish. Whether your Krylon® spray paint project involves plastic, metal, wood, wicker, glass, ceramic and other surfaces, make sure to complete these three essential steps when you kick off your project:
- Start each project with a clean, dry surface.
- Remove loose paint or rust with a wire brush, sandpaper or steel wool.
- Sand glossy surfaces with fine-grain sandpaper and wipe with a tack cloth.
Different surfaces need preparation steps designed for the exact material. Here are additional preparation steps for wood, metal, glass and ceramics.
*Tips are intended for general purpose spray paint. See product label for details.
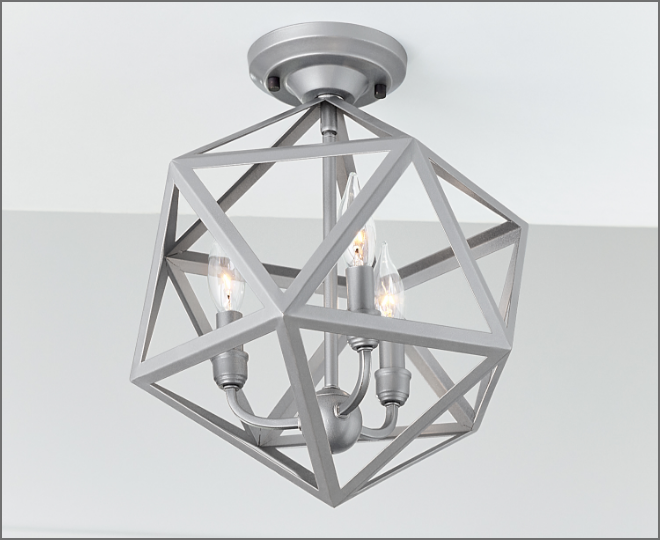
Metal
- Start by removing loose rust with a wire brush or sandpaper.
- Start with a clean, dry surface.
- To protect your project against rust, prime your surface and let dry before spray painting.
- Exterior metal should always be primed for the greatest durability.
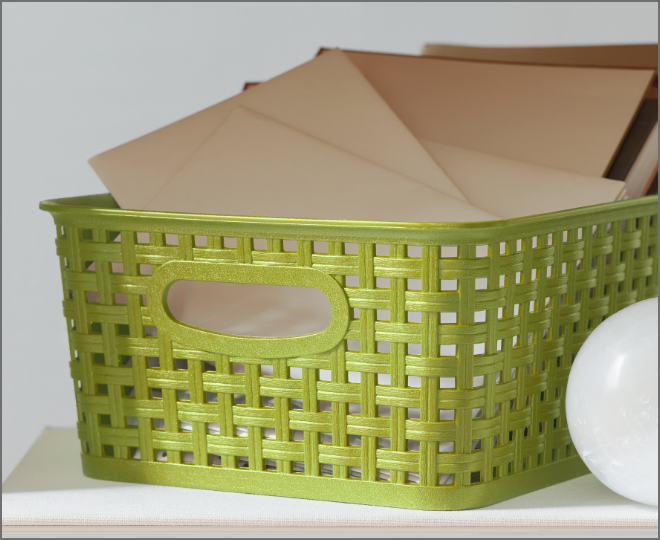
Plastic
- Start with a clean, dry surface.
- Lightly sand surface if previously painted.
- Spray Paint your project with Krylon® Fusion All-In-One®.

Wood
- Remove any loose paint with sandpaper or a wire brush.
- Remove dust and start with a clean, dry surface.
- Wood may require extra coats.
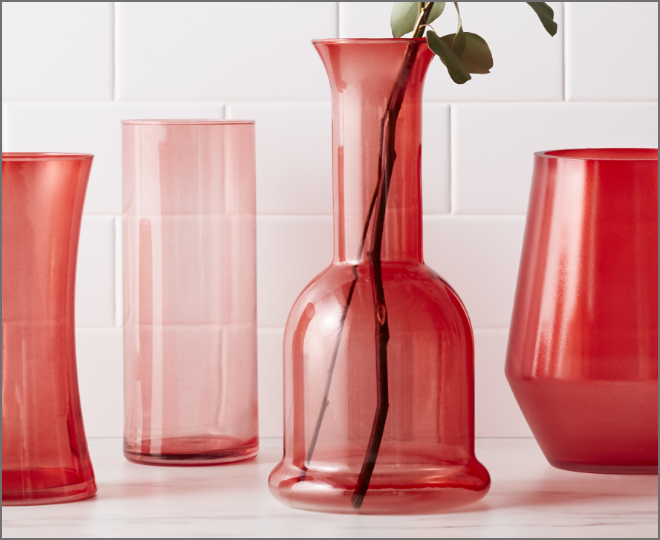
Glass and Ceramic
- Lightly sand with a fine-grain sandpaper to improve adhesion.
- Wipe clean with a tack cloth
- Apply spray paint primer to further improve adhesion
(glass will no longer be transparent if a primer is used)